Cycle through Kenya, Uganda and Rwanda on a East-African visa
- Ine ØSTMO
- 10. mars
- 9 min lesing

Oppdatert: 22. mars
Draft - Ine Leschbrandt Østmo


In October 2025, we loaded our bicycles at the foot of Kilimanjaro. Over the next two months, Joris and I cycled thousands of kilometers, starting in Arusha, Tanzania, followed by Kenya, Uganda, and Rwanda before flying out of Kigali.
Why cycle East Africa?
East Africa is known by many people for its wildlife, diverse cultures, and famous national parks. It is one of the most iconic travel regions in the world, where you can experience unique encounters with people, animals, and nature.
We decided to bike through the region. With simple supplies like a tent, sleeping bag, and a cooker, we explored these three countries and all their beauty by bike. We had an incredible experience and wanted to share our learnings, tips, and route to make it easier for fellow bikers to do the same.
The East African visa
The East African Tourist Visa is a special visa that allows travelers to visit three East African countries (Kenya, Uganda, Rwanda) with one visa. It makes traveling or cycling across borders in the region much easier. The price of the visa is 100 USD, and it is valid for 90 days. Another advantage is that you can travel freely between the three countries throughout this period.
Tanzania
We started our journey at the foot of Kilimanjaro, in Arusha, Tanzania. We spent the first two days cycling around the iconic mountain before crossing the border into Kenya. There are several options for cycling in the area of Kilimanjaro, including a mountain bike route all the way up to the Shira Plateau. Due to heavy loads and gravel bikes, we decided to stay on the trail that went around the mountain (see the GPS route).
After two days of exploring the Kilimanjaro national park, we crossed into Kenya. We first cycled past the Rongai border, but when we arrived, we realized that the border post was closed and no longer running. After entering Kenya without a stamp, we had to cycle back to the Tarakea border post, where we were able to get our passports stamped and enter Kenya.

Kenya
Kenya was our first country on the East African Visa, and the biggest tourist destination of the three East African countries we planned to cycle through. We had the Kenyan Odyssey as a target, but we improvised a lot before, during and after the route. In Kenya we combined routes we found online, navigating on the map, and using local tips.

Road condition and difficulty
Throughout the whole trip, we alternated between remote and challenging dirt roads and smooth regional roads. For example, cycling around Amboseli National Park involved rough gravel roads and required proper navigation. On the other hand, while cycling around Iten (which is known as “Home of Champions”), we had nice and smooth tarmac. However, most of the gravel roads we encountered in Kenya (which you can see in the GPS provided) were rideable and fun to cycle.

Accommodation
Throughout our whole trip, we were mainly camping outside schools, churches, health centers or police stations. The main thing we learned was to always ask about the chairman or leader of the village, to ask for permission to stay. We used the app Ioverlander, camp4night and just offline maps to figure out the best places to stay. Additionally, if we wanted to have some comfort, we went to a camp site or a guesthouse, to get a shower and a proper toilet. However, we often experienced more comfort wild camping or staying outside a public building, where we had accessibility to the local borehole.
Food and water
Normally, we carried several days’ worth of food in our panniers, much of it processed and packaged. Additionally, there were usually roadside stands selling fresh tomatoes, avocados, and onions every five to ten kilometers. However, if you want to cook for yourself, we will recommend bringing more gas. We struggled finding the correct gas bottle to our burner, and ran out of gas. The only place where we found it was Nairobi (I would assume Kampala and Kigali have it too, but we never passed these cities).
Most villages along the road had a small market (often several) with limited food choices. These were good places to stock up on bread, peanut butter, packaged snacks, and cold drinks, but not much else. Our favorite option, however, was buying chapati and tea from a roadside stand.
Most Kenyans got their water from boreholes, hand-operated pumps found in or near villages. Kids were often eager to work the pumps while we filled our bottles. Water from some pumps had a bit of an iron taste (which we still drank), while others tasted fine. In other places, we filled our water bottles straight from the tap, but we normally filtered it first. Additionally, most small supermarkets also sell bottled water.
Highlights
Amboseli National Park
Camping with the Masai people
Eburru Forest
Iten - The city of champs
Uganda
Uganda was our next stop after Kenya and the country where we planned to stay the longest. We crossed the Suam border, beside Mount Elgon national park. Beforehand, we had done some research and were excited to try the Trans Uganda route shared on bikepacking.com. Originally, our plan was to ride the southern section along Lake Victoria, but because we had some extra time—and after receiving a few recommendations—we decided to head north instead and explore the more remote parts of Uganda.
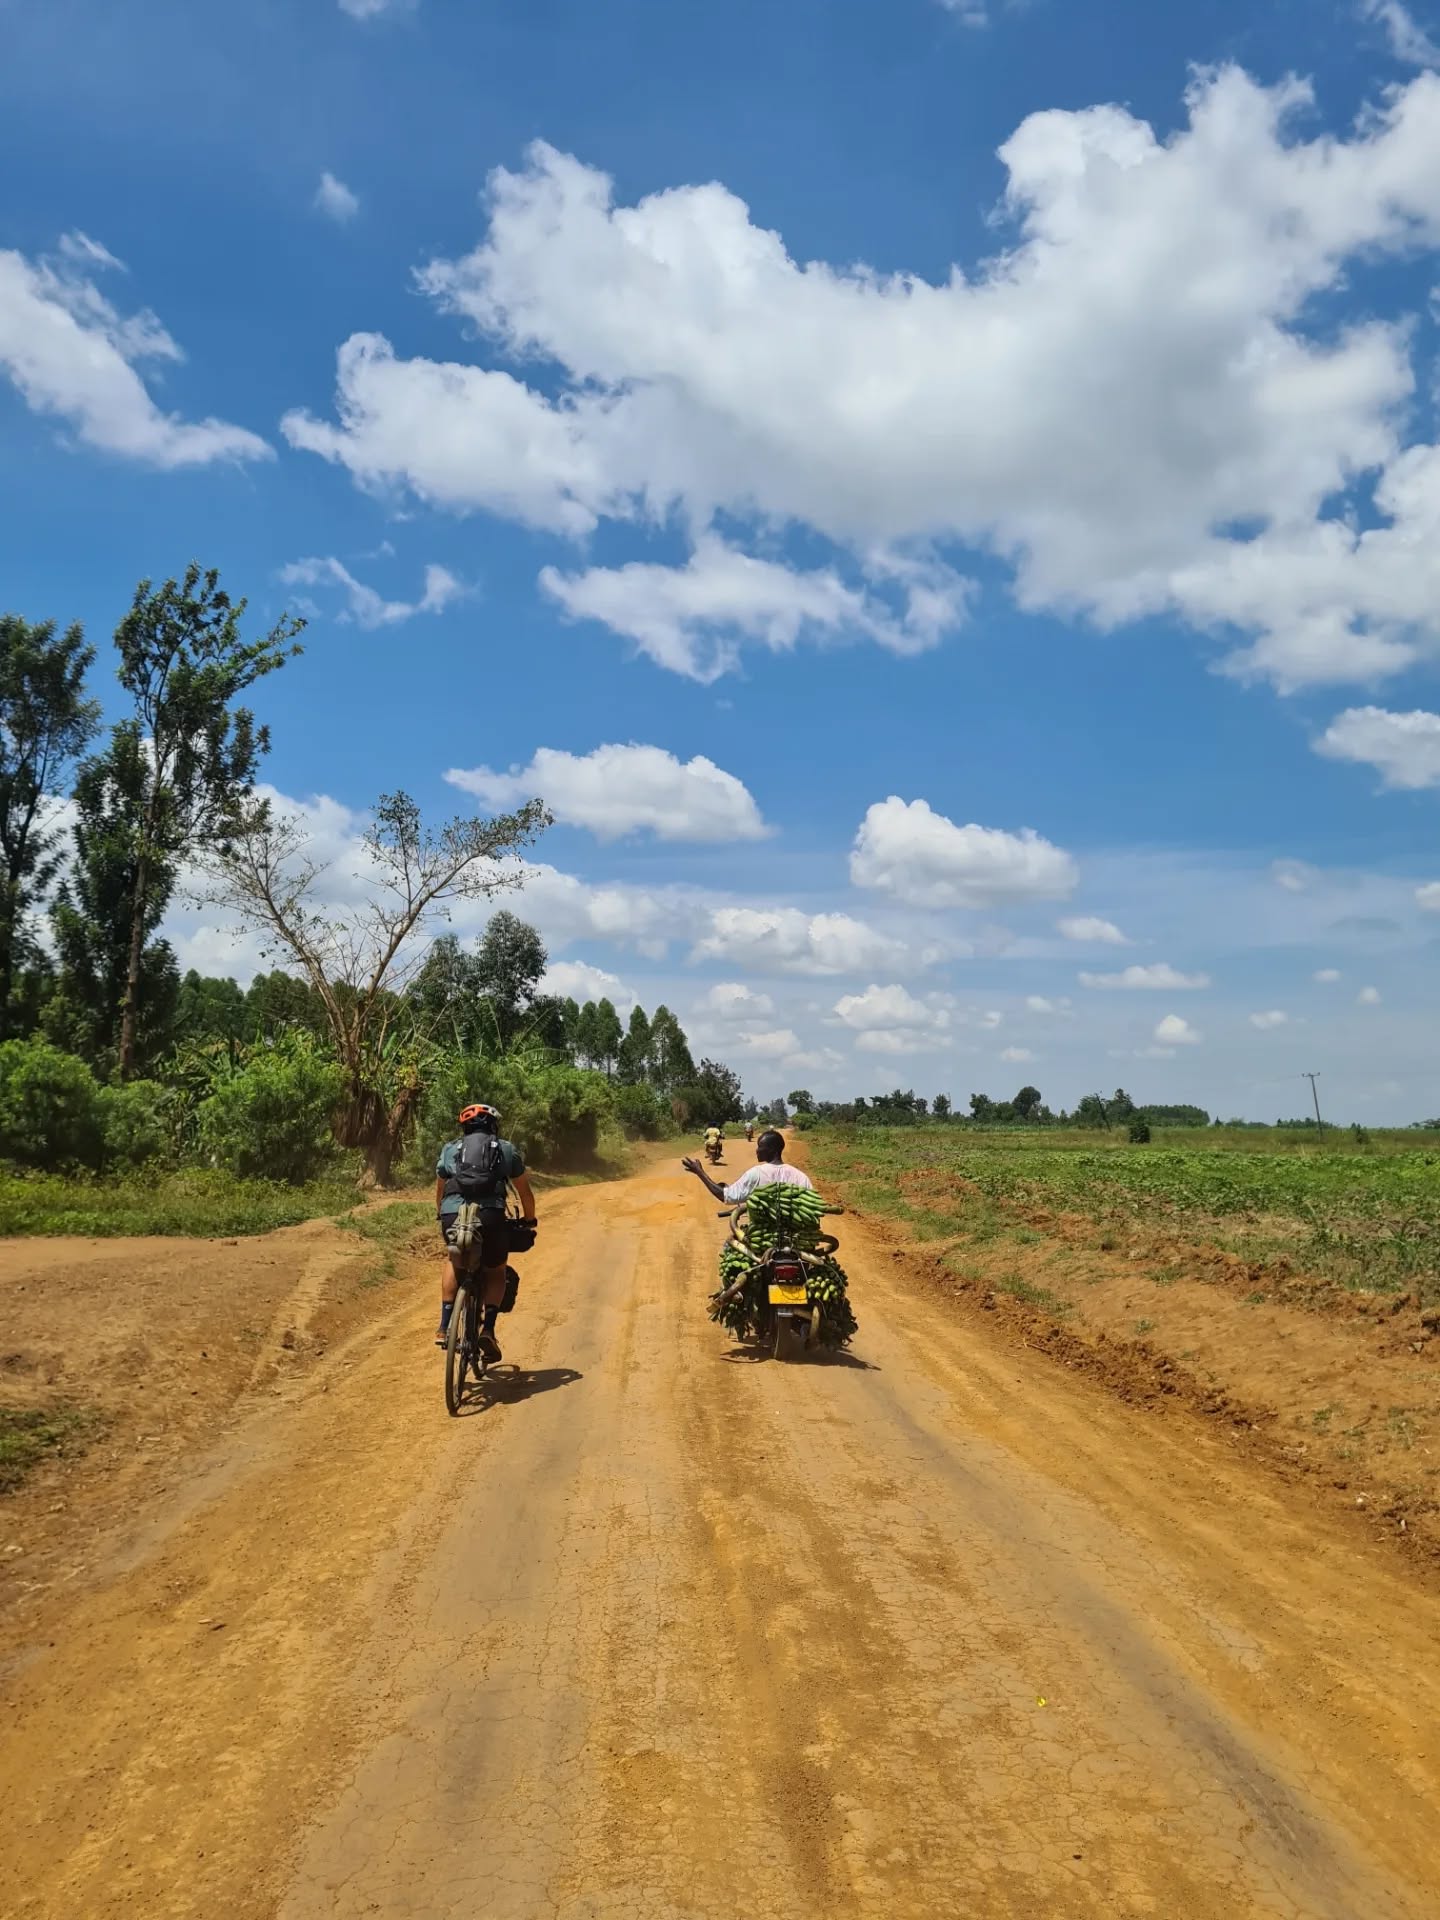
Even more than Kenya, Uganda is highly populated, and we biked through villages, and small towns every few kilometers. We were surrounded by people most of the day, cheering us on our bikes, asking questions, waving at us, and inviting us over.

Road conditions and difficulty
In contrast to Kenya, where we alternated between gravel and tarmac, Uganda was mostly gravel. First of all, Kenya has a more developed road system with tarmac, whereas many of Uganda’s regional roads are unpaved.
Secondly, we were cycling in more remote areas, exploring northern Uganda, which is less developed compared to the more touristy and populated southern regions of the country.
Lastly, the route we partially followed—the Trans Uganda—is a gravel route, so most of our tour was on unpaved roads. However, the Trans Uganda route was created 10 years ago, and some of the roads have not been updated since. We were therefore very thankful for our topographic map, which helped us a lot on days when we went off the Trans Uganda GPS track.
Even though we spent much of this stretch on gravel, the road conditions were generally good, and we really enjoyed the small dirt roads. One important thing to keep in mind is the season and the amount of rainfall. On the few days we experienced heavy rain, the roads turned into rivers, making cycling almost impossible.
Accommodation
After cycling through Kenya for a few weeks, we had learned a few tricks for accommodation. As mentioned in the Kenya section, we learned to always ask the chairman or leader of the village for permission to sleep outside a church, school, health center, or police station. Another option is “community” lodges/camps—small, budget, community-run campgrounds or lodging facilities that provide employment for local members and support educational programs.
The people of Uganda were extremely welcoming and always happy to help us. However, all this friendliness also came with curiosity, and we rarely had much privacy while staying in the villages. Locals would hang around our camp, chatting with us, looking at our bikes and equipment, and watching us prepare our home for the night. We really enjoyed getting so close to the locals, and on nights when we wanted more privacy, we chose to stay at a campsite.

Food and water
As with accommodation, we also found a good rhythm for food and water. Like in Kenya, Uganda has plenty of fresh and tasty vegetables and fruits along the way. We also became big fans of rolex, an oily and deliciously filling chapati-wrapped omelet. In addition, we ate a lot of matoke, sweet potatoes, rice, beans, and peanuts (grown in the fields in Uganda). This was filling, tasty, and cheap food—perfect for the road.
Uganda also had many boreholes in the villages we passed—roughly every 20 km. However, we always tried to carry around 3 liters each in case we couldn’t find water. The small shops along the road also sold bottled water and other refreshments. That said, villages often ran out of electricity, or didn’t have any at all, so drinks were usually warm.
Highlights
Mount Elgen national park and Sipi falls
Lake Albert, and Kibiro (a small fisher village)
Queen Elisabeth national park
Bwindi national park (home of the gorillas)
Rwanda
After three weeks in Uganda, we crossed into the last country of our tour, Rwanda. We used the Katuna border crossing, which is about 80 kilometers from the capital, Kigali. Before starting our route in Rwanda, we spent a few days resting in Kigali.
Rwanda is a contrast to Uganda in many ways. Rules, conformity, and hierarchy felt much more present, for both better and worse. Rwanda was noticeably tidier, cleaner, and more developed. However, as soon as we entered the rural areas, things became less organized.
Our plan in Rwanda was to follow the “Race Around Rwanda” route and include the Congo-Nile Trail along Lake Kivu. We adjusted the route slightly during the ride due to weather conditions and limited time. Nevertheless, it is a good base or starting point for planning a tour in Rwanda.

Road conditions and difficulty
As mentioned earlier, Rwanda was more developed than Uganda, including its roads. The paved roads were amazing to ride, which meant we spent more time cycling on tarmac. Rwanda is known as “the Land of a Thousand Hills,” which we can confirm—many of our days were spent climbing or descending these beautiful hills on smooth roads.
The only section where we rode a lot of gravel was around the Twin Lakes, which was one of our favorite parts of Rwanda. Another place where we experienced gravel was the Congo-Nile Trail, which was slightly more challenging as it is more touristic. When people along the trail saw us, they often expected us to give them money, sometimes running after us and grabbing our bikes. This was something we had not experienced elsewhere in Rwanda. Another challenge we faced on the Congo-Nile Trail was the rain, which made the road conditions very difficult.

Accommodation
After spending a long time in Kenya and Uganda, where it was easy to simply show up and ask to pitch our tent somewhere, Rwanda was more challenging. Everything felt more structured and organized, and it was often a process to get permission to stay outside a public building. Sometimes we spent up to two hours calling different authorities before being allowed to set up our tent. The places we found on iOverlander were usually fine, but otherwise we often ended up going to a campsite to avoid the long process.
Food and water
Like Kenya and Uganda, Rwanda is a densely populated country, with food stands, small markets, and people selling basic supplies everywhere. We were sad to say goodbye to our favorite Rolex, but Rwandan chapati made a good substitute. Other food options often included rice, beans and vegetables. We also frequently passed boreholes, where we could refill our water bottles.

Highlights
The Twin Lakes
Lake Kivu
Nyungwe National Park
The Capital Kigali
Complete GPS route

GPX file:
Summary of main tips and tricks
Check the rainy seasons before you start. Many of the gravel roads can become extremely challenging during periods of heavy rain.
Expect gravel roads. No matter how you plan your route, you will likely end up riding on gravel at some point. Having the right bike and tires is essential.
Use iOverlander for accommodation. We used the app almost daily to find campsites, guesthouses, and safe places to stay.
Bring good maps. Topographic maps were very useful for navigation, finding accommodation, and understanding the terrain.
Wild camping can be difficult. It’s almost impossible to wild camp in Kenya, Uganda, and Rwanda because there are people almost everywhere. If you want to camp, it’s usually best to ask local authorities if you can pitch your tent near a church, school, health center, or police station.
Be cautious with water. Our main rule was to assume the worst and filter water whenever possible. If we saw locals drinking directly from a source, we sometimes did the same. Otherwise, we always filtered it.
Food availability can vary. In many places you’ll find small shops selling basic items like biscuits and snacks, especially earlier in the day. Still, be prepared to rely on local dishes for many of your meals.
A photo collection


For more information read:
Visa:

Kommentarer